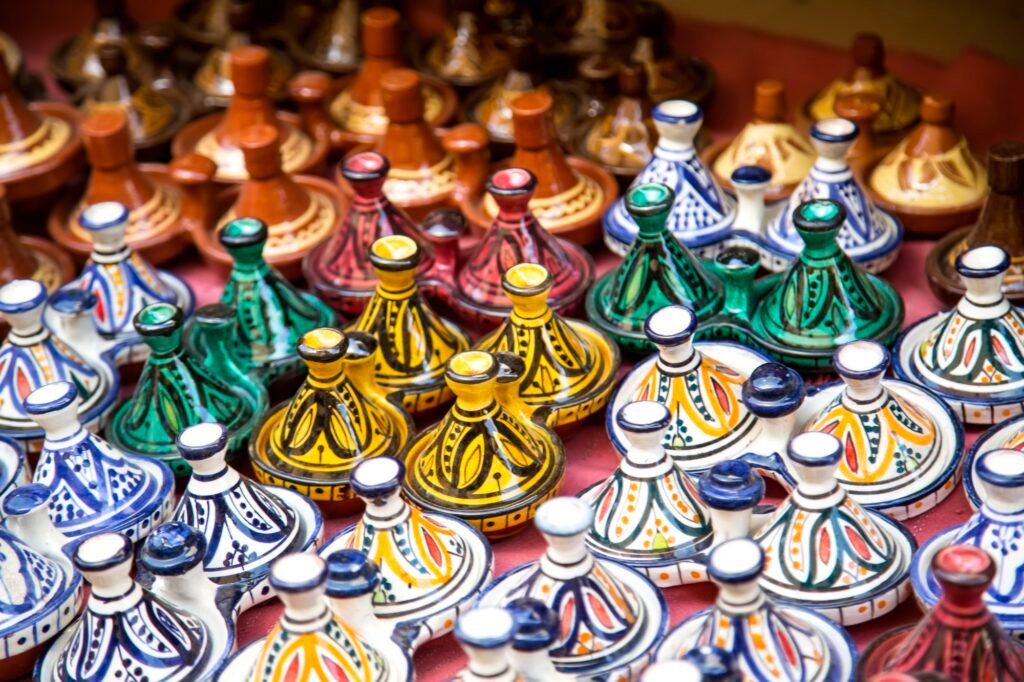
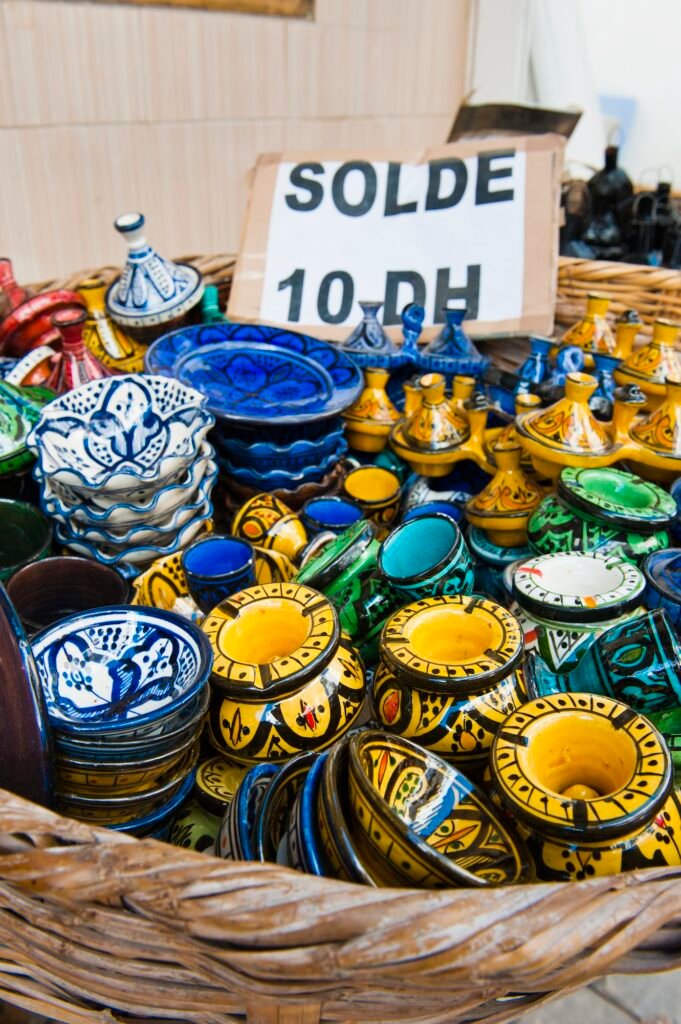
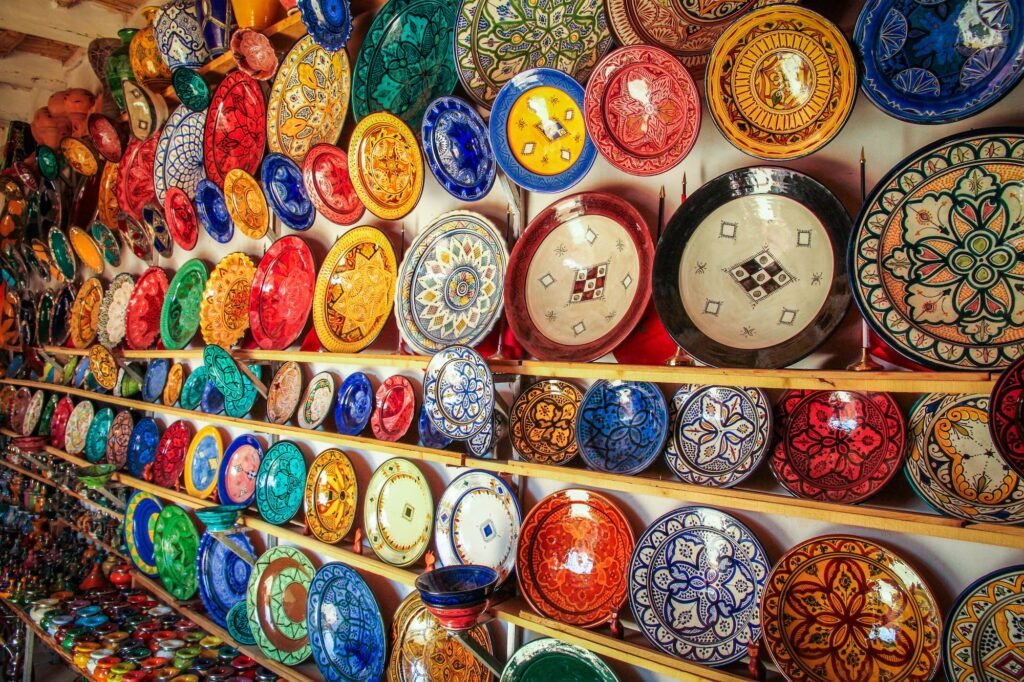
How Fez Pottery made ? The craft of pottery: Pottery is considered the first craft in the history of mankind, as it mixes between the Berber heritage on the one hand and the Maghreb heritage on the other hand. There are several techniques used to decorate clay pieces in the forms of motifs and decorations. In Morocco, we find 3 main types of pottery crafts: urban pottery and attractive figures, most of which are made in Fez, Safi and Salé. Fez pottery: In the city of Fez, there are great makers of pride, learning this craft from one generation to the next. There are more than 500 craftsmen specialized in the pottery industry in the city of Fez. It is filtered from limestone, and immediately after that it is transferred to basins and tanks to lie in water, then it is dried from this water for 24 hours. For the potter to start the process of kneading and rotating over a place called “the ball” through which cylindrical shapes are made that are placed on top of a spiral, Where the learner moves it with his legs so that the cylinder begins to rotate, which enables him to make the shape to be made, relying in this traditional process on water in the first place, and after completion, the pottery products are exposed to the sun’s rays in order to dry them until they take on their strength and hardness, then they are entered into the oven in order to be cooked in Very high temperatures up to 1200 degrees for large ovens. In the end, it is presented to the “Zawaq”, who paints it using the dye and the brush, where he writes some words and symbols that focus on the Islamic and civilized identity of Morocco, so we find ceramic vessels of great beauty and precision in manufacture.
How fill your pouf ? The question we get asked the most often is: “How do I fill my Moroccan Pouf?” Well, today we are finally going to share all of our tips to make your pouf round, plump and beautiful, just like in our pictures. Before I share these 3 different methods to fill up your pouf, let me tell you what the most common mistake is. People just don’t fill up their poufs enough! Note: For those of you who dread filling up a pouf, don’t worry!! There’s a zipper at the bottom of the pouf which makes it pretty easy to fill up. Shipping a pouf with filling would cost a fortune, so in order to maintain our prices, we prefer to guide you through the process to make your experience easier. Fill your Moroccan pouf with polyester stuffing (or pillow filling). This is probably the easiest way to fill your pouf. I recommend using two 20 ounce bags (or 3 lbs.) of polyester stuffing. You can probably find some at your local fabric store. Important: This type of stuffing will fill up your pouf nicely, however, it won’t make it stiff enough for you to sit comfortably, Use polyester stuffing if you plan to use your pouf only as a decor element, if it is only to be used by a child, or if it is only to be used to kick up your feet. In these cases, 2 bags of poly-fill would work perfectly. Fill your Moroccan pouf with unused clothing and textiles you can find around your home. This is my favorite method even if it requires you to do a little decluttering in your closets and find all those perfect textiles to make your pouf heavy and plump. Look around the house for unused textiles such as: Old jeans you’re no longer wearing Sweaters Old kids clothing Pillows you’re no longer using Bath towels you’re no longer using Get bonus points if you have an old duvet you don’t know what to do with! I admit it takes a little effort and you need a lot of items to completely fill up your pouf, but doesn’t it feel good to declutter and give another life to unused stuff? This is the best filling method if you’re planning to use your pouf as a low seating option.These different textiles will make your pouf heavy and steady enough to sit on it. Fill your Moroccan pouf using IKEA FJADRAR feather pillows. Our favorite IKEA pillows of all time are FJADRAR inserts filled with duck feathers. They are super cozy and plump and the price/quality ratio is spot on. There are two sizes and the bigger 26″ inserts work best to fill a Moroccan pouf. You’ll need three 26″ FJADRAR* IKEA feather pillows to make your pouf heavy enough to sit on. Three inserts will make your pouf round and well filled. It’s a bit pricier than using polyester stuffing, but it makes the pouf more comfortable and it’s a no-brainer since pretty much everyone has an IKEA store nearby. *Important: Make sure you pick up the inserts filled with feathers and not the cheaper ones that are filled with polyester. The polyester ones won’t work for this purpose.
In this article, we have researched for you how to hang a chandelier, how to disassemble the chandelier, and what to consider when hanging a chandelier. You need to know some tricks to replace the chandelier or install the chandeliers in the house where you have just moved. First of all, you need to learn how to disassemble the existing chandelier. Then he should have an idea about various assembly details according to the product’s features; You must complete the assembly process accordingly. The paths you follow in models that stick to the ceiling and products that extend in the form of pendants are different from each other. In addition, we will answer many of your questions, such as what cable means, how you should connect the cables, what you need to do if there is no hanger. Chandeliers that complete the decoration of your homes are indispensable products. With stylish lighting products, you can enjoy spending time in brighter and more spacious environments. In the chandelier you choose for your home, you first look for elegance and harmony with your home. But then, you may be a little surprised when it comes time to connect the purchased chandelier. The connection of pretty eye-catching chandeliers may not be as easy as it seems. Learning to hang a chandelier will make your job easier and relieve your budget. Chandelier Hanging Steps Before starting work, first, make sure that the fuses are turned off because job security comes first. If you wish, you can also turn off the room switch where you will only install the chandelier. After this process, check that there is no electricity in the cables and then start work. To easily connect the chandelier to the cables coming out of the ceiling, you should slightly open the wires. Using terminal blocks at this stage makes your job easier. If there is no terminal, you can take precautions with insulating tape. You will also need insulating tape to prevent leakage from the cables after the connection. The most crucial point when connecting is to connect the cables correctly. One of the wires is neutral, and there is no current in it. On the other hand, there is an electric current, and this cable is called phase. If you don’t connect these wires correctly, the fuse will blow. If you have a diagram of the chandelier installation, you should follow it. Otherwise, it is necessary to put dowels on the ceiling to weigh the chandelier. If you have marked the screw locations by measuring, drill a hole and insert the dowel. This is a must as the electrical cables will not carry the chandelier. A dowel with an average size of 7 mm will move your chandelier. Insert the thumbscrew into this peg and hang the chandelier there. If the place to hang the chandelier is ready, it’s time to complete the cable connections. You have to loosen the Kelmeinsin screws and insert the cables in the chandelier and ceiling. When connecting the chandelier, pay attention to the phase and neutral. After installing, tighten the screws of the terminal well. You can start using your chandelier’s hanger if the connection is complete by attaching it to the hook. In some chandeliers, all lamps are on simultaneously, while in others, they may light up in sections. In this case, it is associated with cables. Again, with the connection you will make the same way, you can make all the lights turn on successfully.